7,271
16,842,469
View notifications
Login
Logout
Site Info
Store
Blog
Partners
Contact
Arkhaven Comics
Alt★Hero
Alt★Hero: Q
Hypergamouse
Midnight's War
Quantum Mortis
Chuck Dixon’s Avalon
Chuck Dixon Presents: Adventure
Chuck Dixon Presents: Mystery
Rebel Dead Revenge
Gorgo
Silenziosa
Arts of Dark and Light
Chuck Dixon Presents: Comedy
Chuck Dixon Presents: War
Swan Knight Saga
How to Succeed Like a Dark Lord
Right Ho Jeeves
My Sister Suprema
Shade
Definitely NOT Dilbert
Chicago Typewriter
Gun Ghoul
Novels
The Sidewinders
A Mind Programmed
The Golden Age
The Saga of the Nano Templar
Wardogs Inc.
Independent Comics
BOB
Stonetoss
Chateau Grief
The Sword of God
Shotgun Samurai
Riot Town, USA
Flying Sparks
Classic Bible Tales
Cross+Word
Give My Regards to Black Jack
Something Big
Paper Doll Veronika
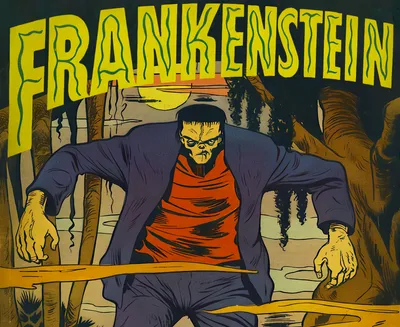
Frankenstein - The Return
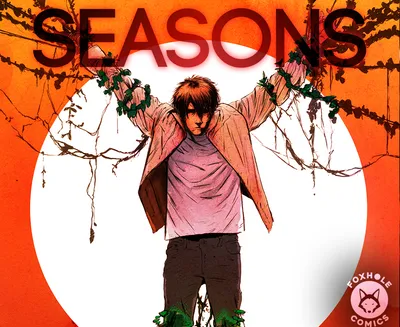
Seasons
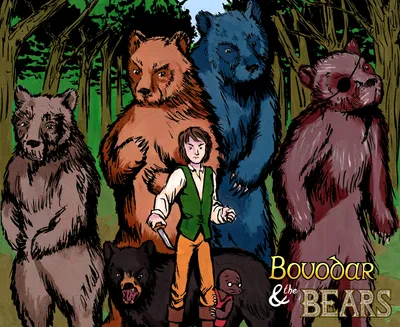
Bovodar & The Bears
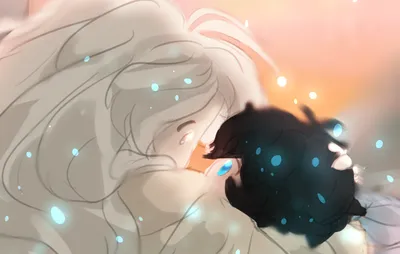
Tatters
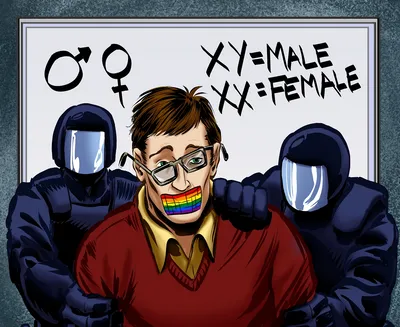
WokelyCorrect
The Lost Era Transcripts
Deus Vult
The Golden Thread
Flip City
Vegfolk Fables
Pakkins' Land
A Tail of Song and Sea
The Legend of Boya
Bob and the Bobbies
Ben Garrison
Ben Garrison Classics
Phillip The Evangelist
Sketchbook
The Weird And Strange
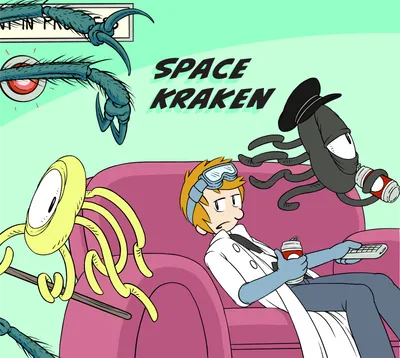
Spacekraken
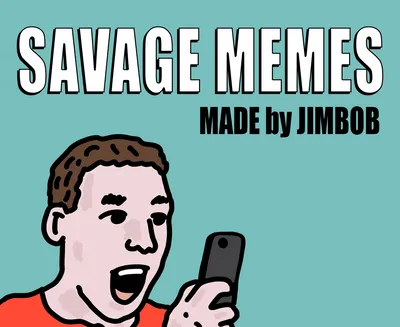
Savage Memes
Unavailable
Don Quixote
Radio Boy
EconComics
Big Bear's Big Comic
FULLSTRIKE!
Black5
Invasion '55
The Dixon Files
Frug the Wanderer of the Wasteland
The Awakener
The Stranded
Warman
Fiddle With Darkness
The Hammer of Freedom
Hammer of Freedom 2
Go Monster Go!
Adobe Kroger: Dame Commander
Ascendant
Titan Mouse of Might
The Awakener - Red Virus
Father Gabriel's Journey
Clockwork Dancer
Gray Claw
One Day In Pakkins' Land
Dynamite Thor
Ember War
Privateer
The Story of Dimple`n'Pimple
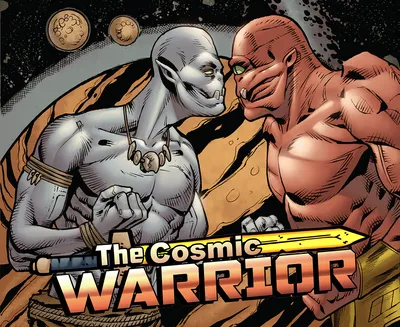
Cosmic Warrior
Adobe Kroger: Dame Commander
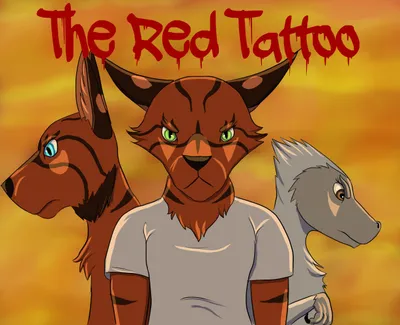
The Red Tattoo
The Runaway Princess
End Times
Blade and Staff for Hire
Street Lights
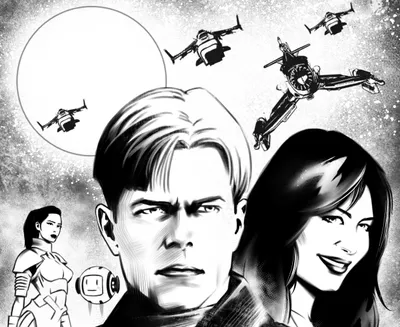
AI Wars
EZXP
The Good Blood
Threat Quotient
Independent Novels
Full of Eyes
Fairy Door
The Gryphon of Tirshal
Alice in Wonderland
Diary of a Postwar Pirate
The Bloodstained Defile
Treasury of Tales
Street Fighting Man
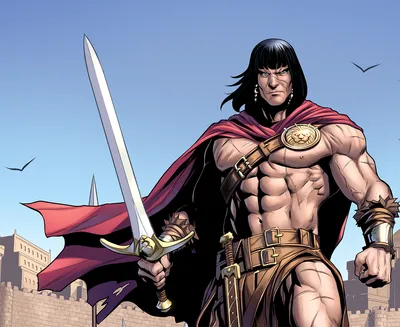
Jewels of Gwahlur
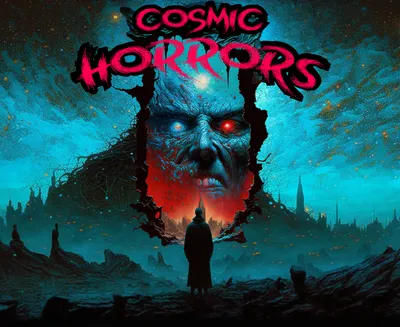
Cosmic Horrors
The Siege of the Black Citadel
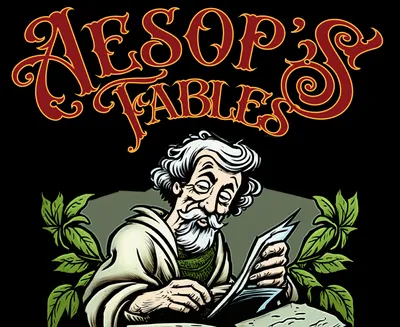
Aesops Fables
The Wise of Heart
Neural Network Novellas
The Chronicles of the Adventure, Hunting, and Liquidation Committee
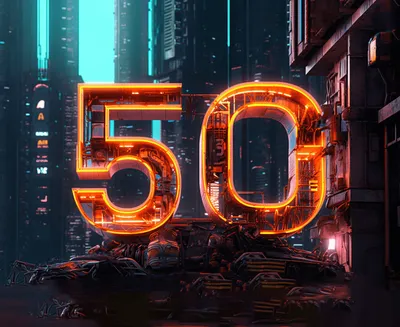
50 Years Later
Wolfran the Knight Avenger
The Tunnels of Woe
The Screaming Void
Enter: Night
Three of Cups
Expanding Suns (TM)
Chinese Comics
三更战
上嫁小鼠
纸娃娃维罗妮卡
Site Info
Store
Blog
Partners
Contact
Arkhaven Comics
Alt★Hero
Alt★Hero: Q
Hypergamouse
Midnight's War
Quantum Mortis
Chuck Dixon’s Avalon
Chuck Dixon Presents: Adventure
Chuck Dixon Presents: Mystery
Rebel Dead Revenge
Gorgo
Silenziosa
Arts of Dark and Light
Chuck Dixon Presents: Comedy
Chuck Dixon Presents: War
Swan Knight Saga
How to Succeed Like a Dark Lord
Right Ho Jeeves
My Sister Suprema
Shade
Definitely NOT Dilbert
Chicago Typewriter
Gun Ghoul
Novels
The Sidewinders
A Mind Programmed
The Golden Age
The Saga of the Nano Templar
Wardogs Inc.
Independent Comics
BOB
Stonetoss
Chateau Grief
The Sword of God
Shotgun Samurai
Riot Town, USA
Flying Sparks
Classic Bible Tales
Cross+Word
Give My Regards to Black Jack
Something Big
Paper Doll Veronika
Frankenstein - The Return
Seasons
Bovodar & The Bears
Tatters
WokelyCorrect
The Lost Era Transcripts
Deus Vult
The Golden Thread
Flip City
Vegfolk Fables
Pakkins' Land
A Tail of Song and Sea
The Legend of Boya
Bob and the Bobbies
Ben Garrison
Ben Garrison Classics
Phillip The Evangelist
Sketchbook
The Weird And Strange
Spacekraken
Savage Memes
Unavailable
Don Quixote
Radio Boy
EconComics
Big Bear's Big Comic
FULLSTRIKE!
Black5
Invasion '55
The Dixon Files
Frug the Wanderer of the Wasteland
The Awakener
The Stranded
Warman
Fiddle With Darkness
The Hammer of Freedom
Hammer of Freedom 2
Go Monster Go!
Adobe Kroger: Dame Commander
Ascendant
Titan Mouse of Might
The Awakener - Red Virus
Father Gabriel's Journey
Clockwork Dancer
Gray Claw
One Day In Pakkins' Land
Dynamite Thor
Ember War
Privateer
The Story of Dimple`n'Pimple
Cosmic Warrior
Adobe Kroger: Dame Commander
The Red Tattoo
The Runaway Princess
End Times
Blade and Staff for Hire
Street Lights
AI Wars
EZXP
The Good Blood
Threat Quotient
Independent Novels
Full of Eyes
Fairy Door
The Gryphon of Tirshal
Alice in Wonderland
Diary of a Postwar Pirate
The Bloodstained Defile
Treasury of Tales
Street Fighting Man
Jewels of Gwahlur
Cosmic Horrors
The Siege of the Black Citadel
Aesops Fables
The Wise of Heart
Neural Network Novellas
The Chronicles of the Adventure, Hunting, and Liquidation Committee
50 Years Later
Wolfran the Knight Avenger
The Tunnels of Woe
The Screaming Void
Enter: Night
Three of Cups
Expanding Suns (TM)
Chinese Comics
三更战
上嫁小鼠
纸娃娃维罗妮卡