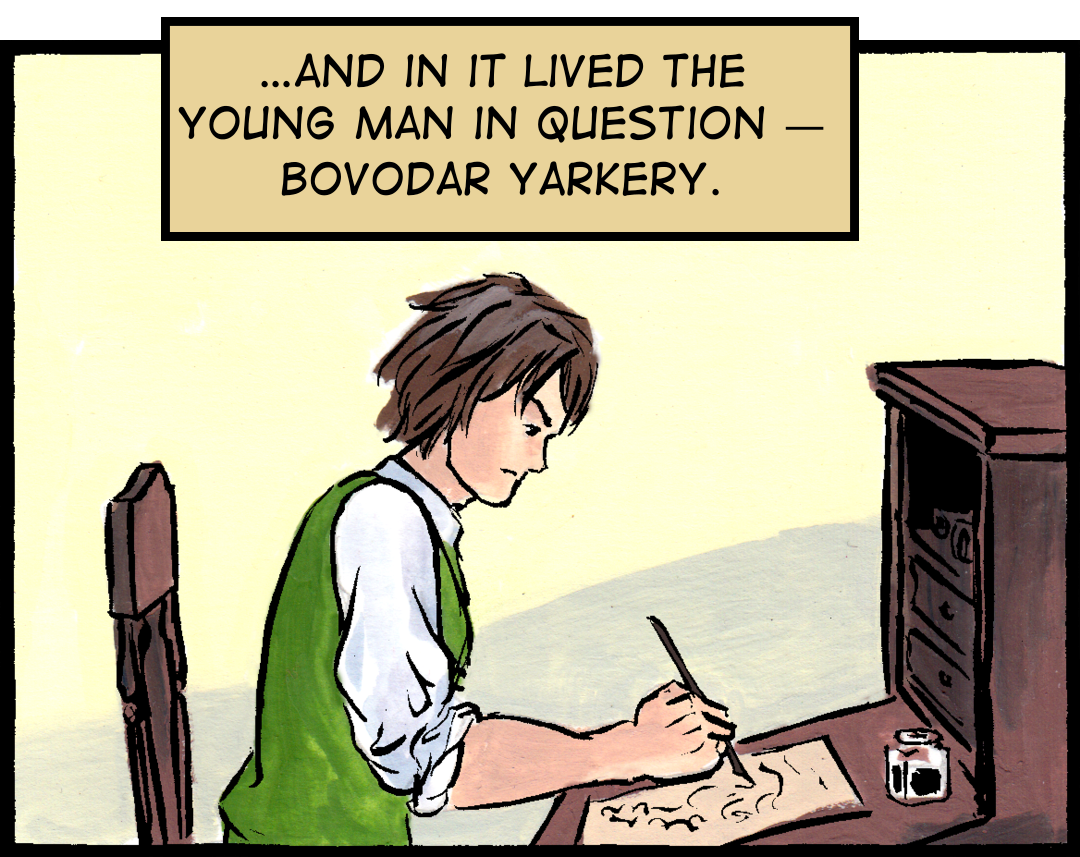
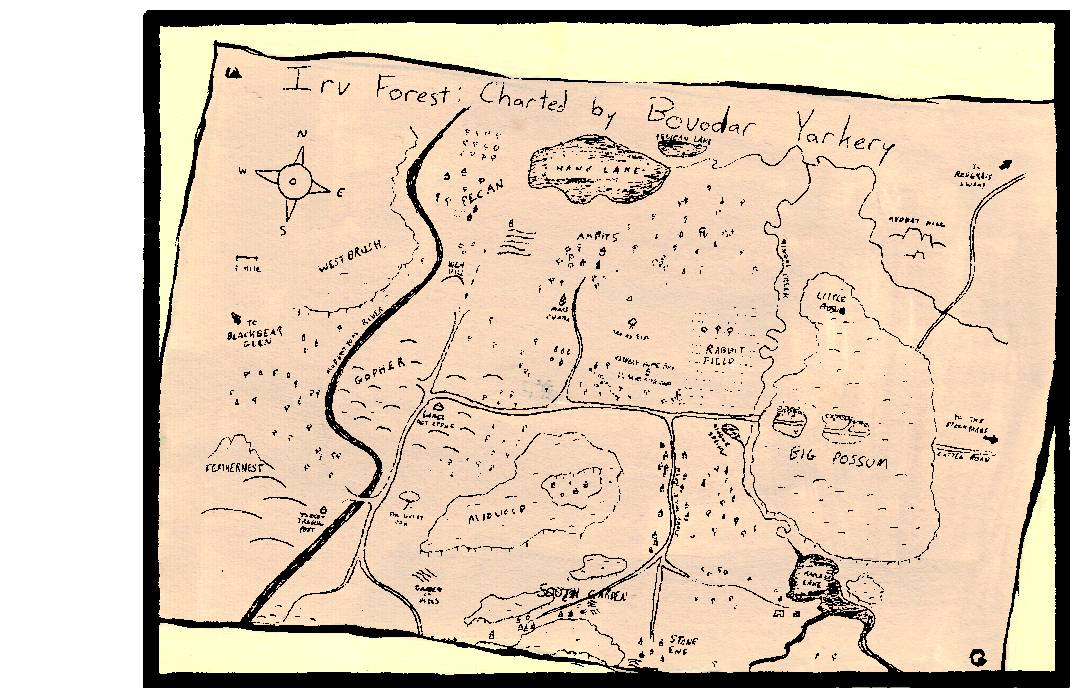

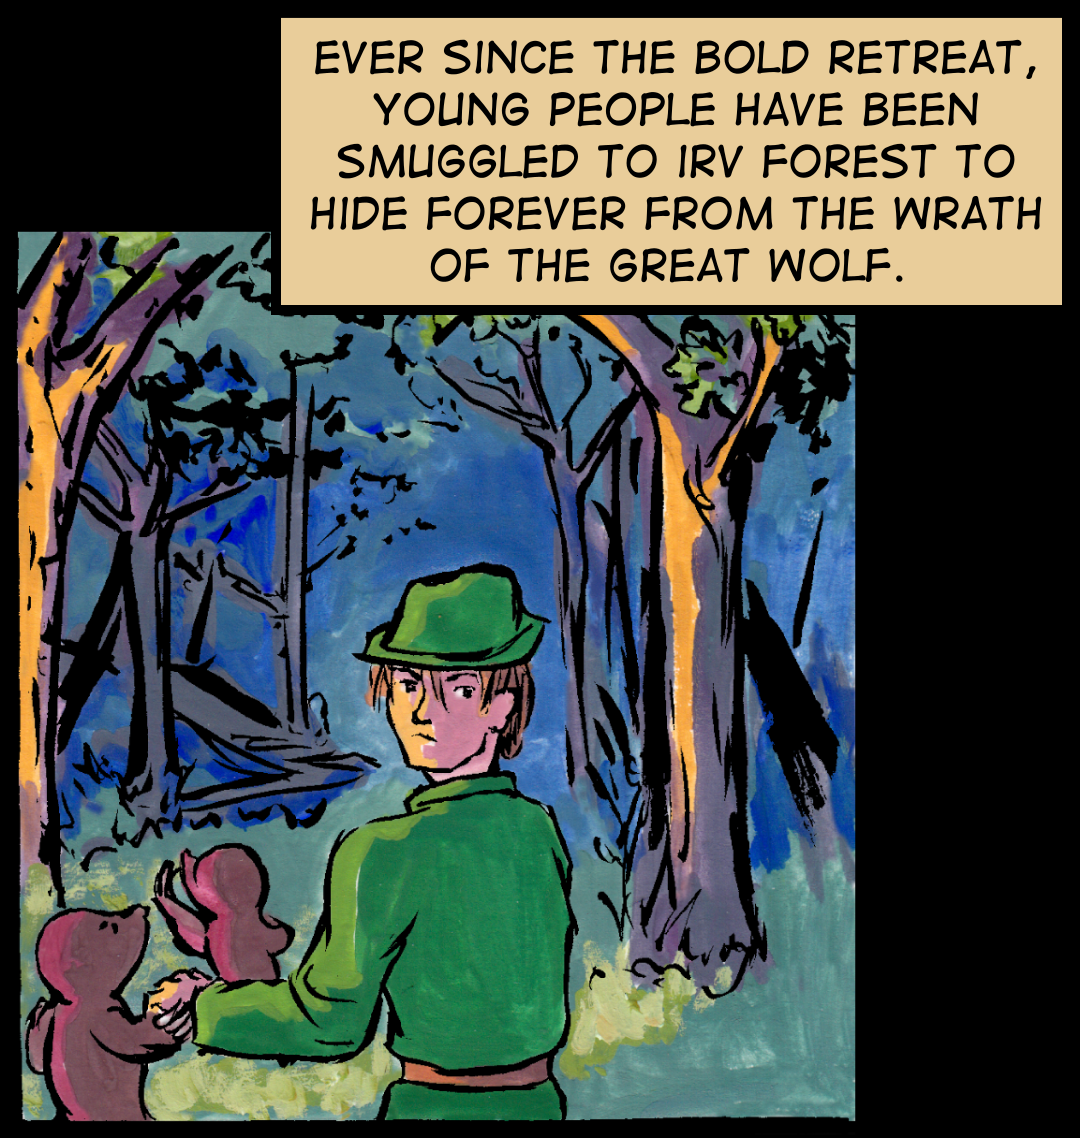
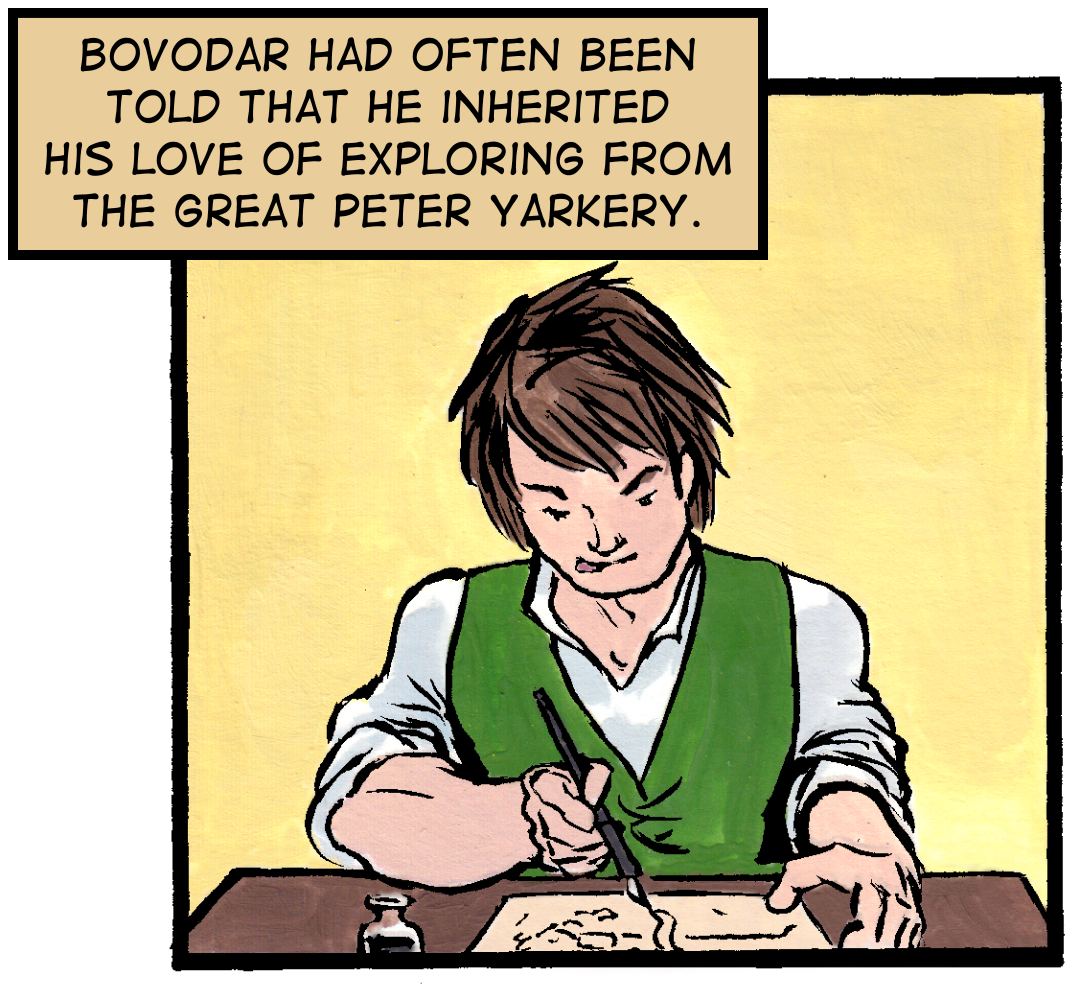

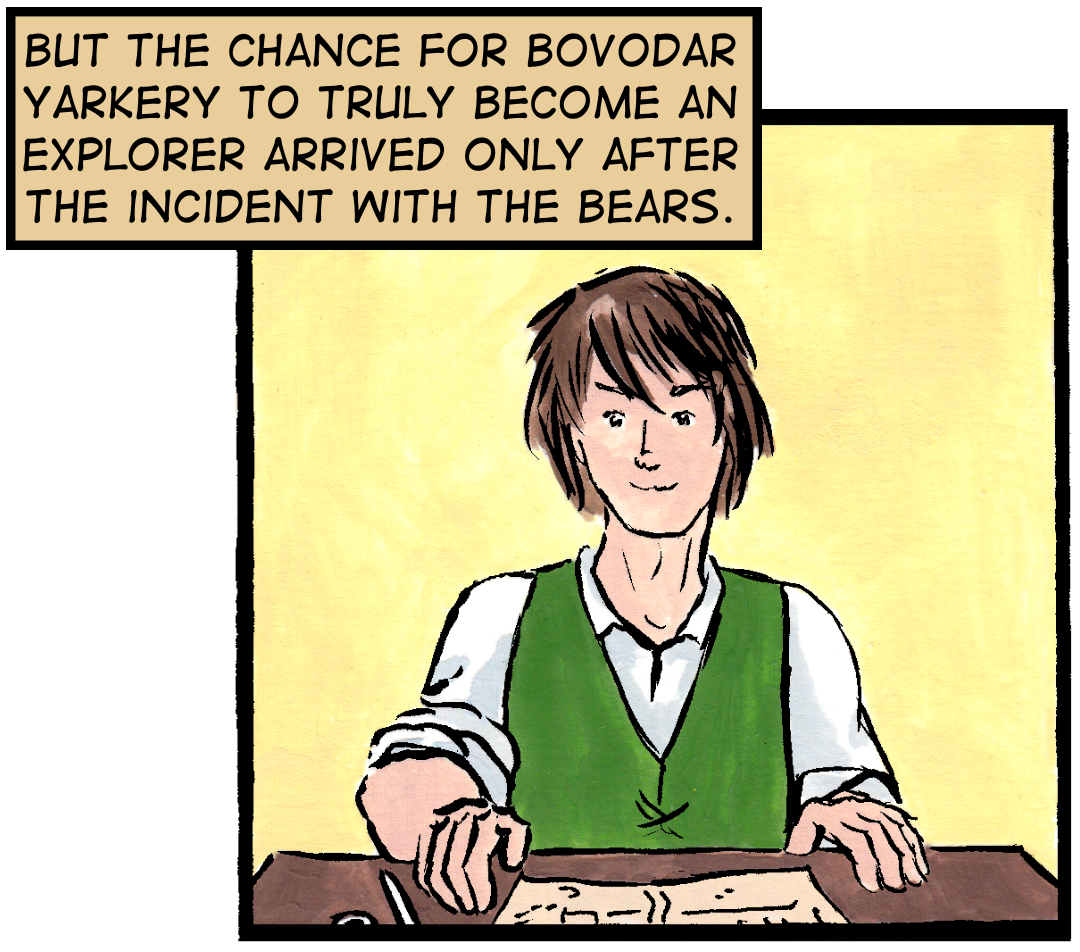
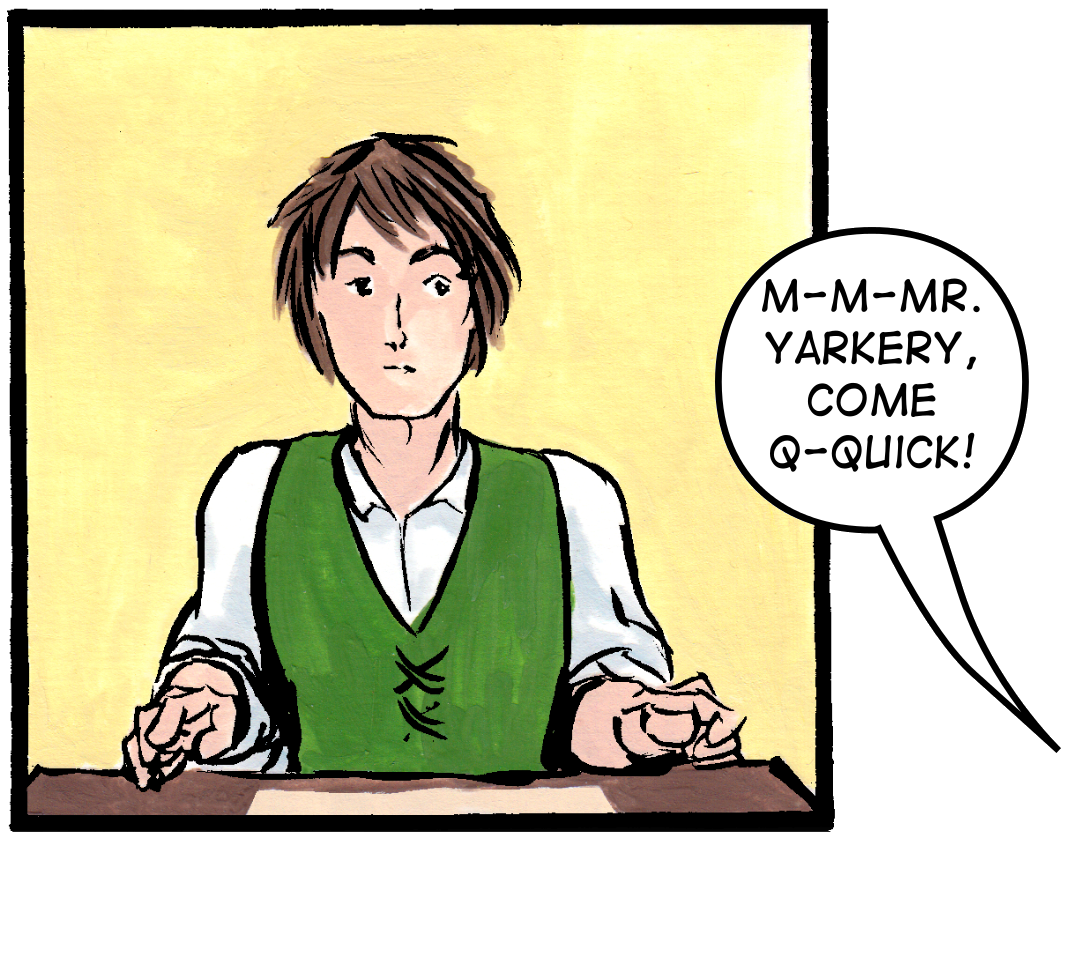
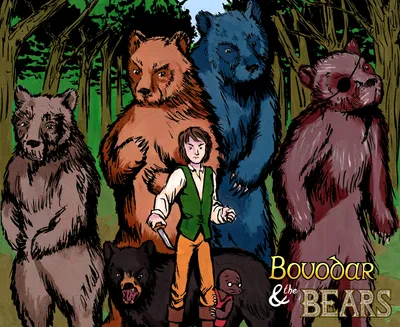
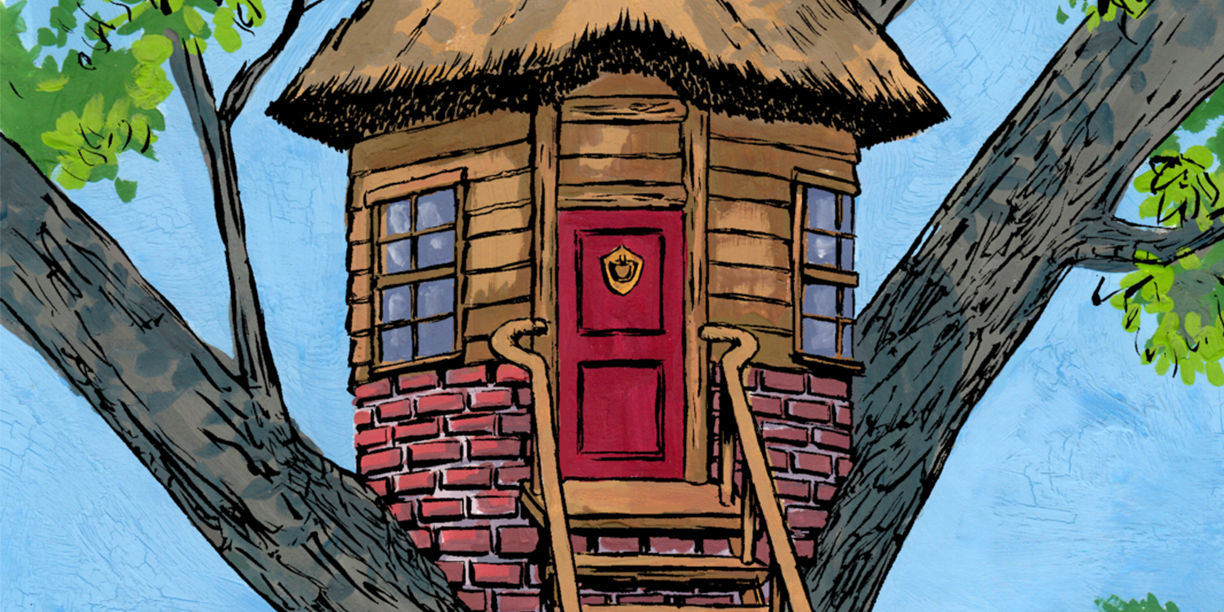

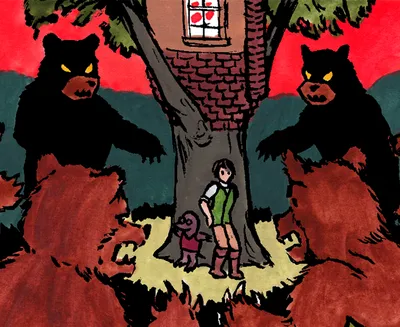
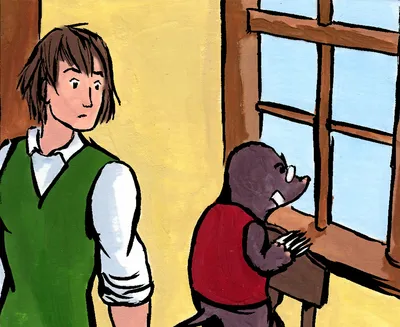
What would you do if two angry bears came pounding on your door, demanding that you hurry out to meet them? That's the dilemma for Bovodar Yarkery, who is confronted one day with a gathering of bears who wish to carry him off on their grand adventure. Across hazardous deserts, through caverns, and far up through the forests into the cold North, there stands Kalas Hall, home of an evil polar bear lord, King Valemod. The path is long, perilous, and uncertain, but if Bovodar & the Bears succeed in their mission, untold glory and riches can be theirs... but only if they can overcome the dangers that await them.
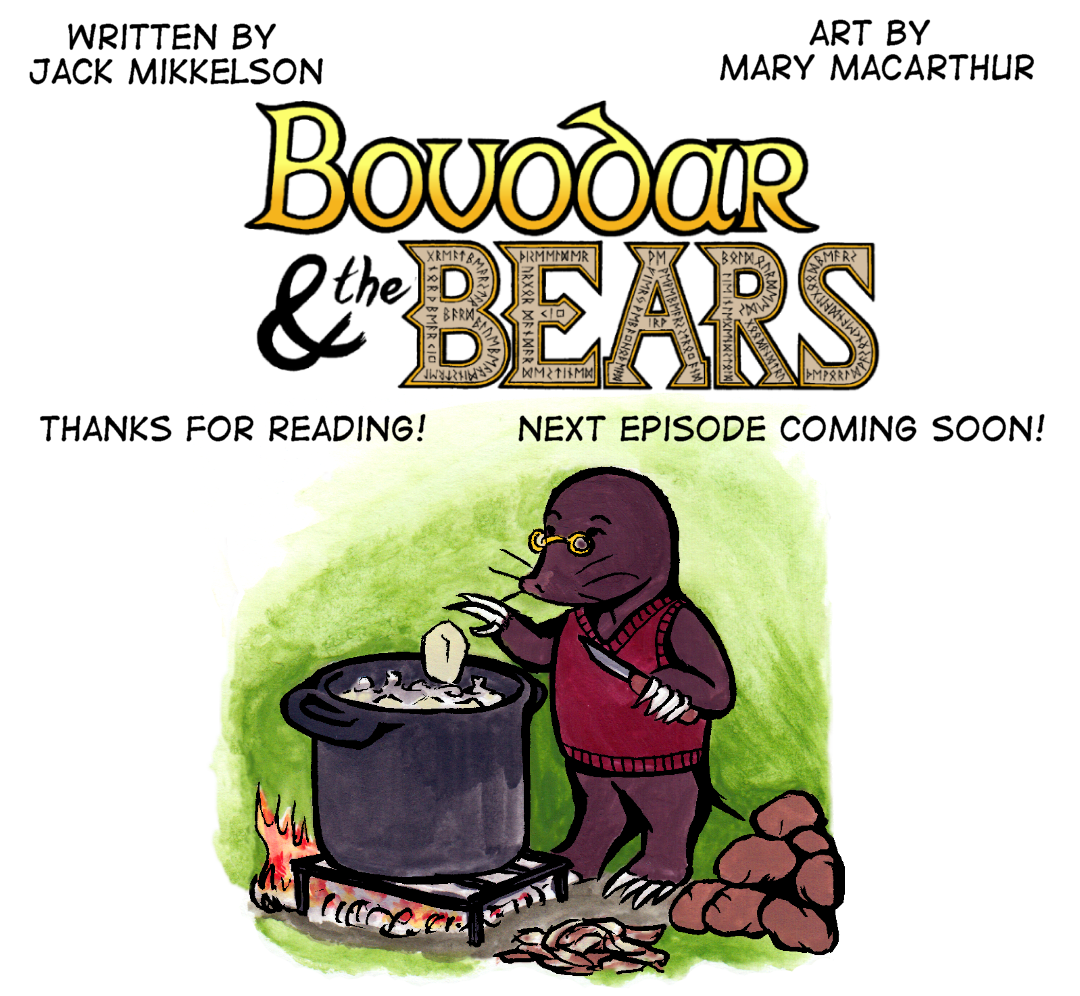
Written by Jack Mikkelson and illustrated by Mary MacArthur.
He's Going to Get Us All KilledEpisode #30
An Unexpected SurpriseEpisode #29
You Coulda Broker Yer NeckEpisode #28
One More Night to Say Your GoodbyesEpisode #27
This Could Take All DayEpisode #26
The Key, I ThinkEpisode #25
Today and TomorrowEpisode #24
Release Our Gladiator!Episode #23
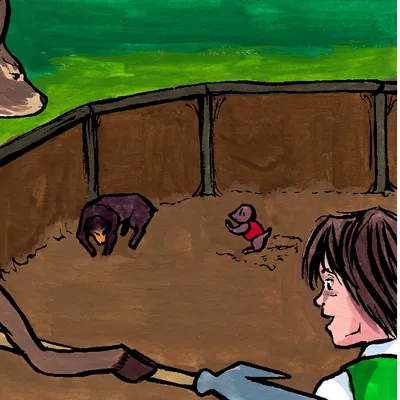
To the Squabble Pit!Episode #22
You Are Nothing But A Savage!Episode #21
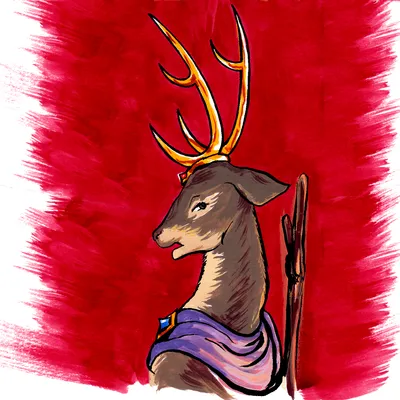
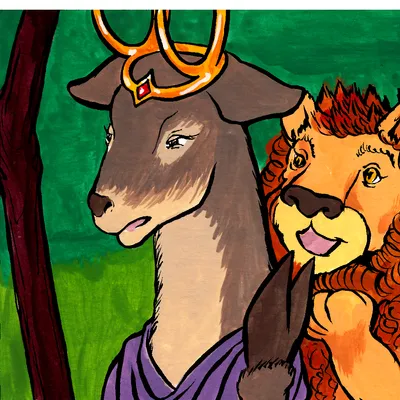
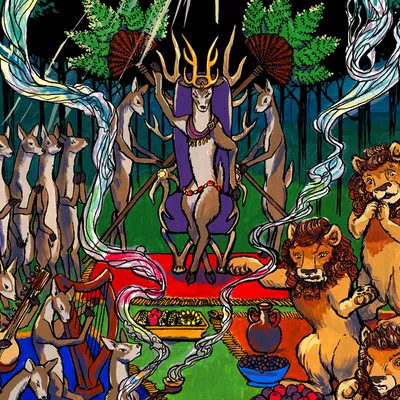
The Deer Queen's CourtEpisode #20
Can any of you believe this?Episode #19
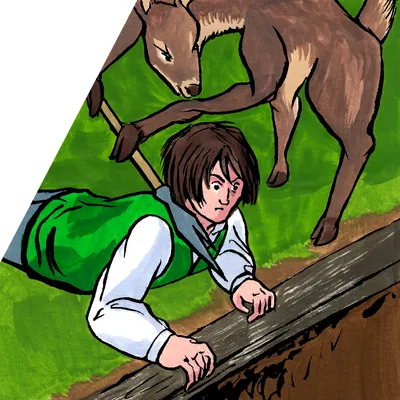
Get Up Here, Savage!Episode #18
Sleep LightlyEpisode #17
A Good HaulEpisode #16
A Bear's One WeaknessEpisode #15
Table Meat!Episode #14
We’ll Walk Through This NightEpisode #13
Don’t Look at ThemEpisode #12
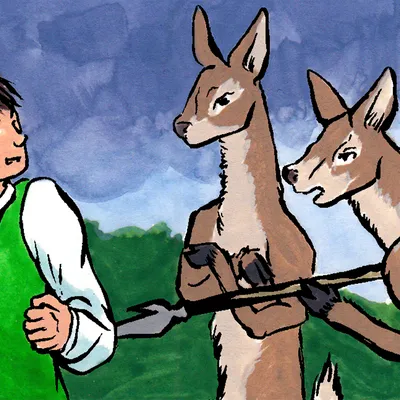
You’re Coming With Us!Episode #11
We Now Have A MissionEpisode #10
We're Gonna See More of ThisEpisode #9
We fly to the North!Episode #8
Meeting At The Sacred ElmEpisode #7
We're Returning to the ForestEpisode #6
It Was The She-Bears!Episode #5
Stop mockin' his domicile!Episode #4
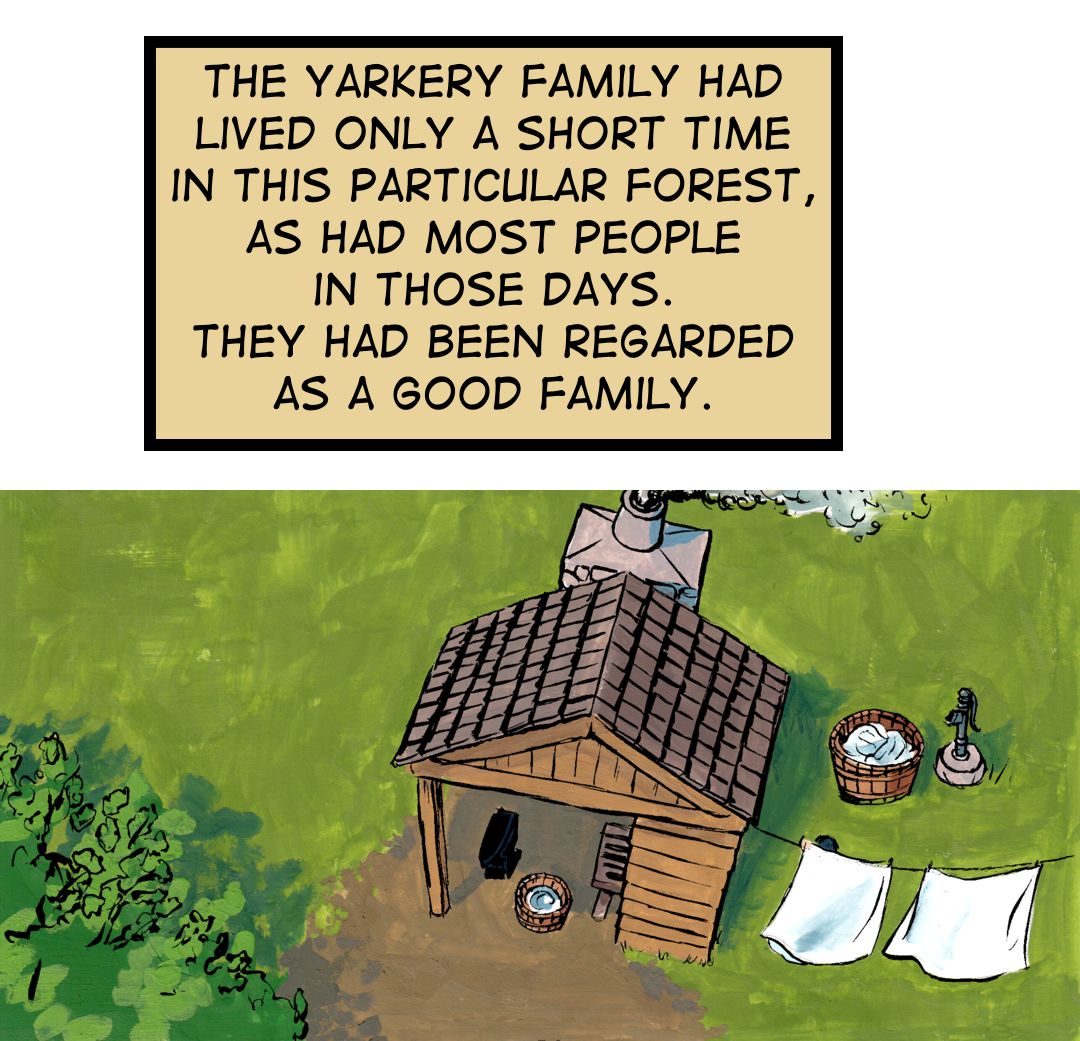
This Is Our Home!Episode #3
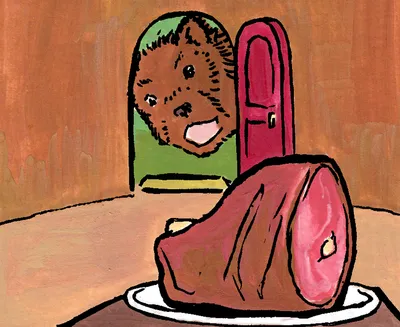
Two Strangers Stole Our HamEpisode #2

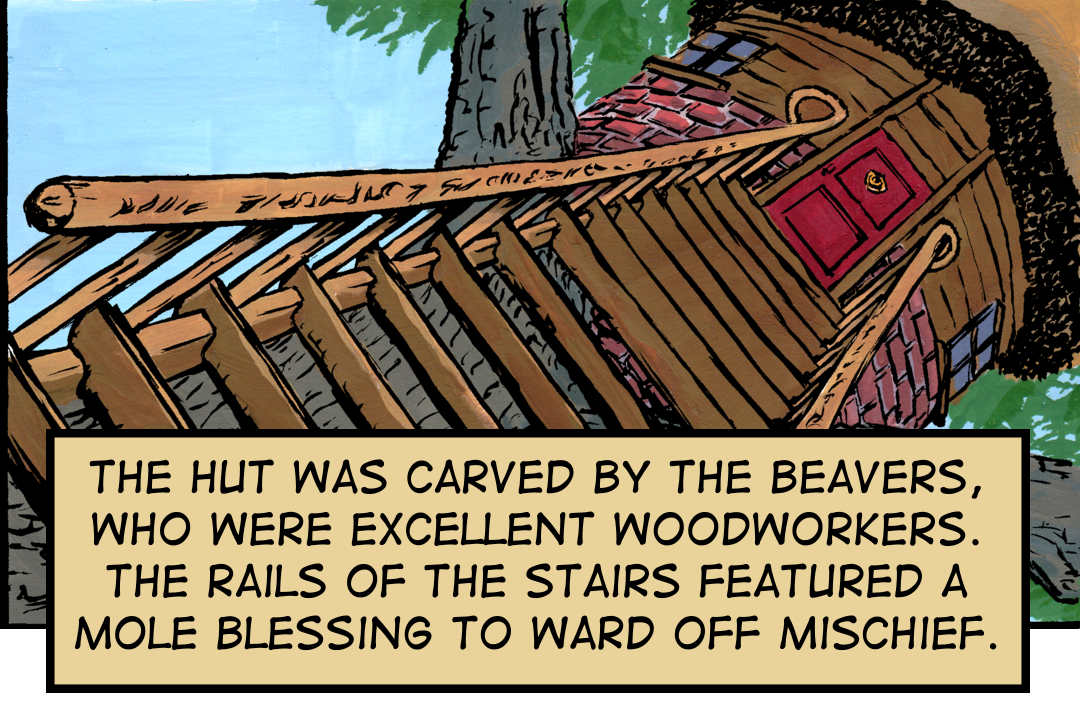
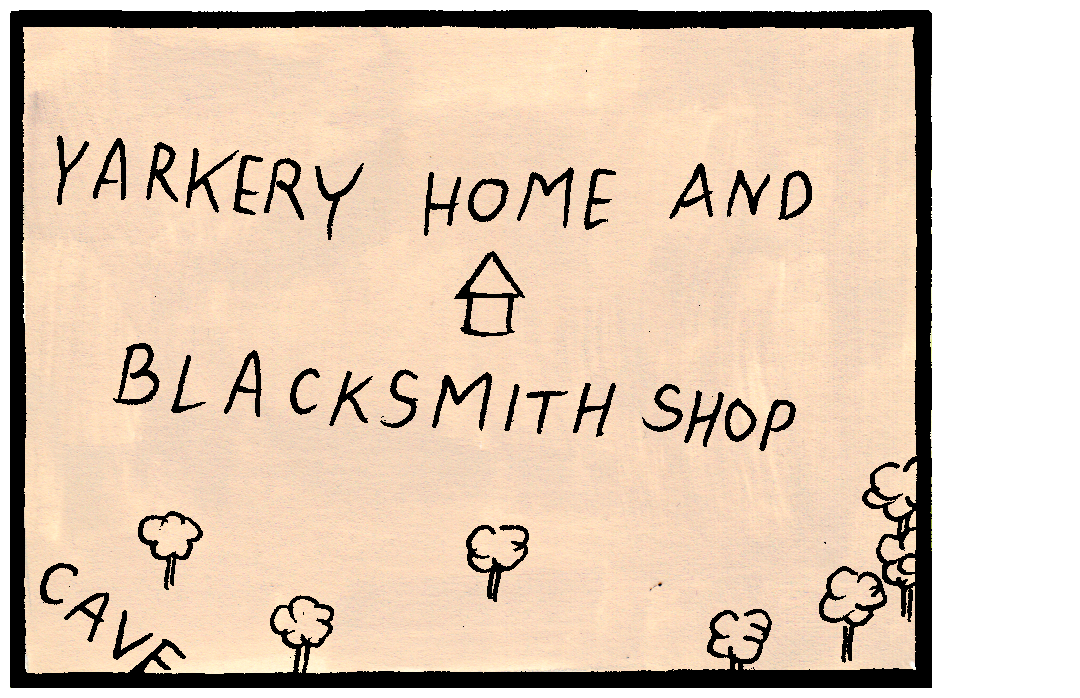
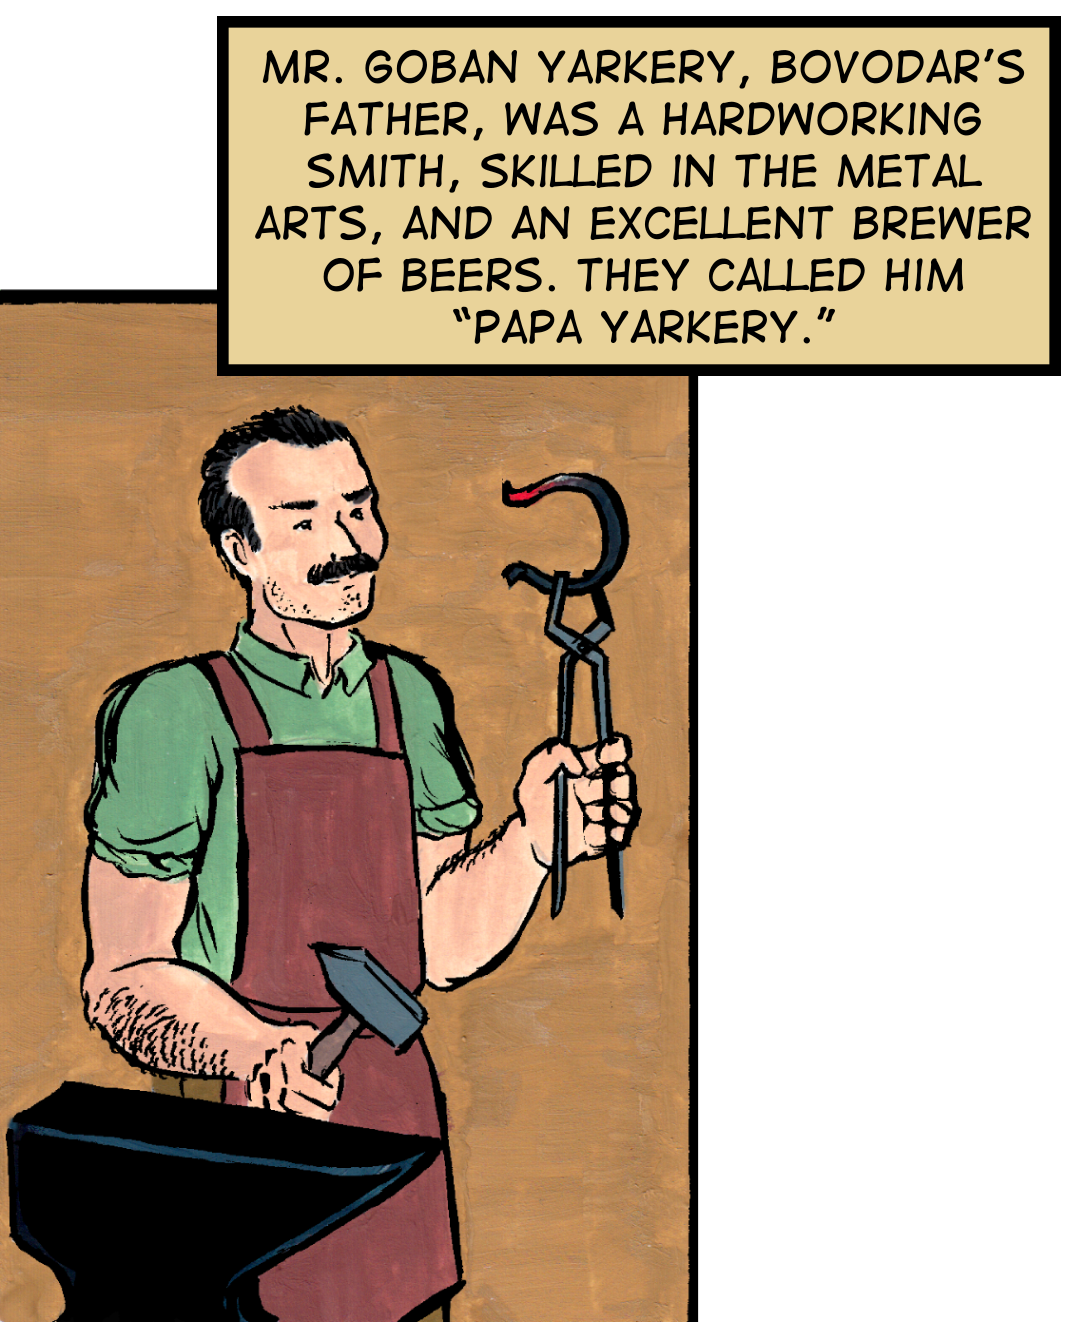
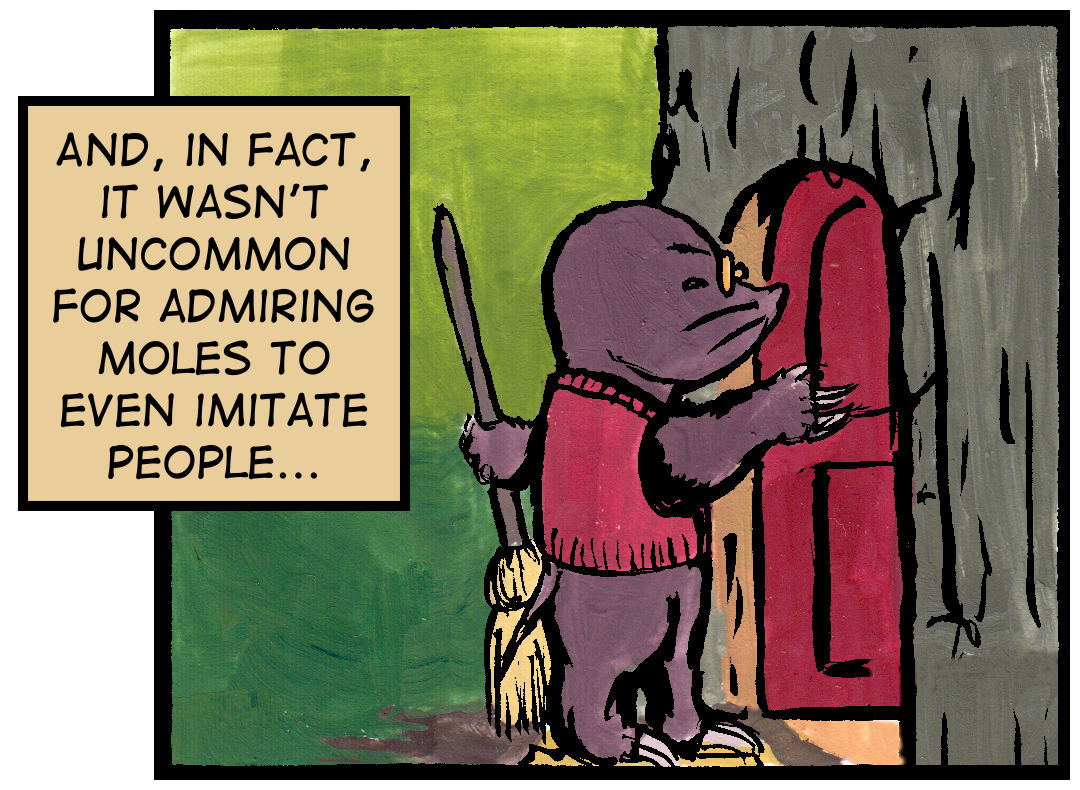
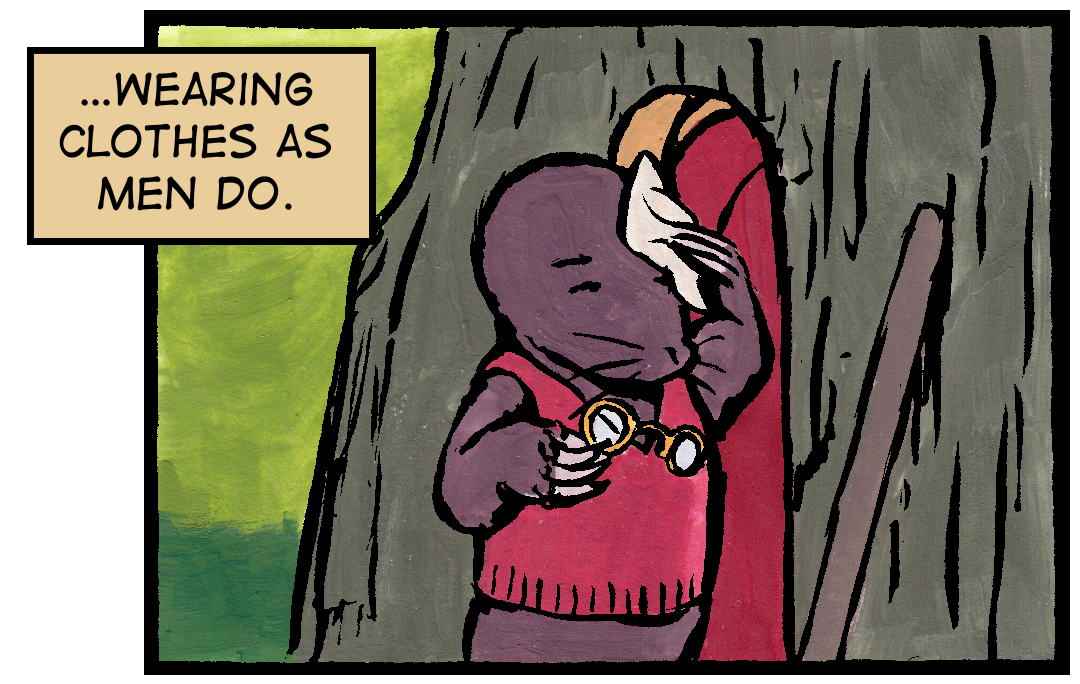
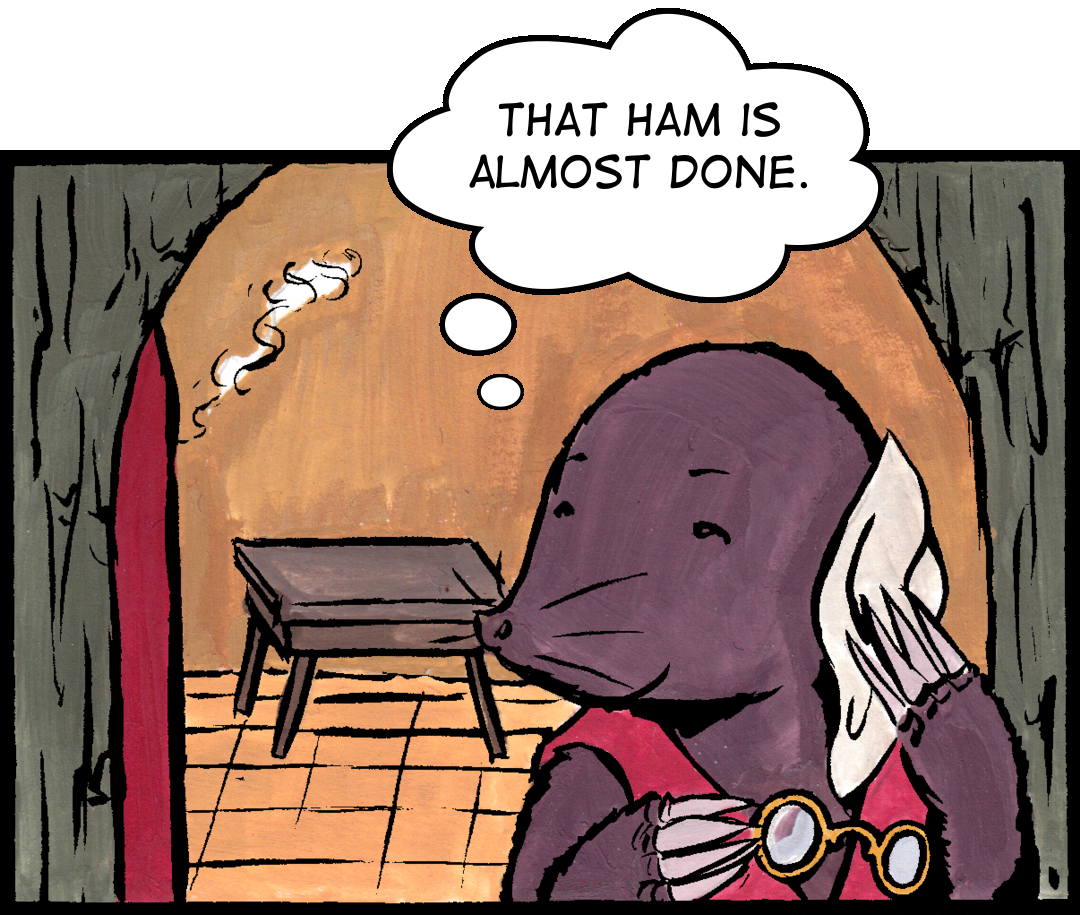
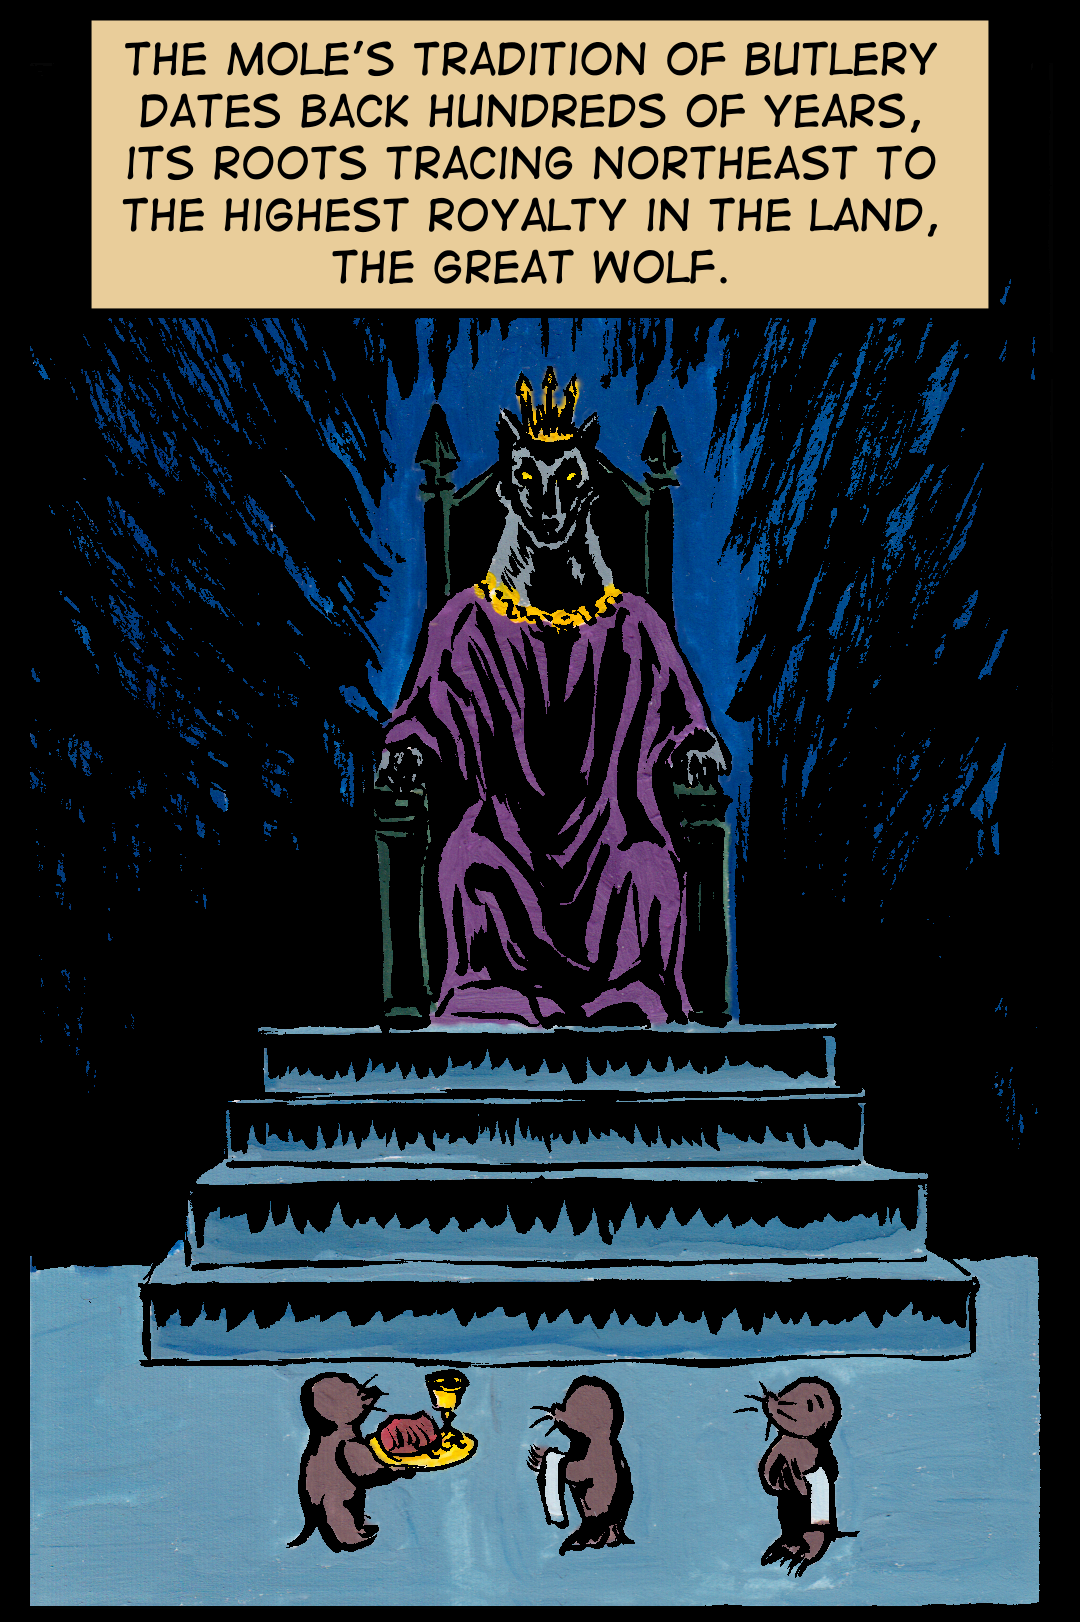
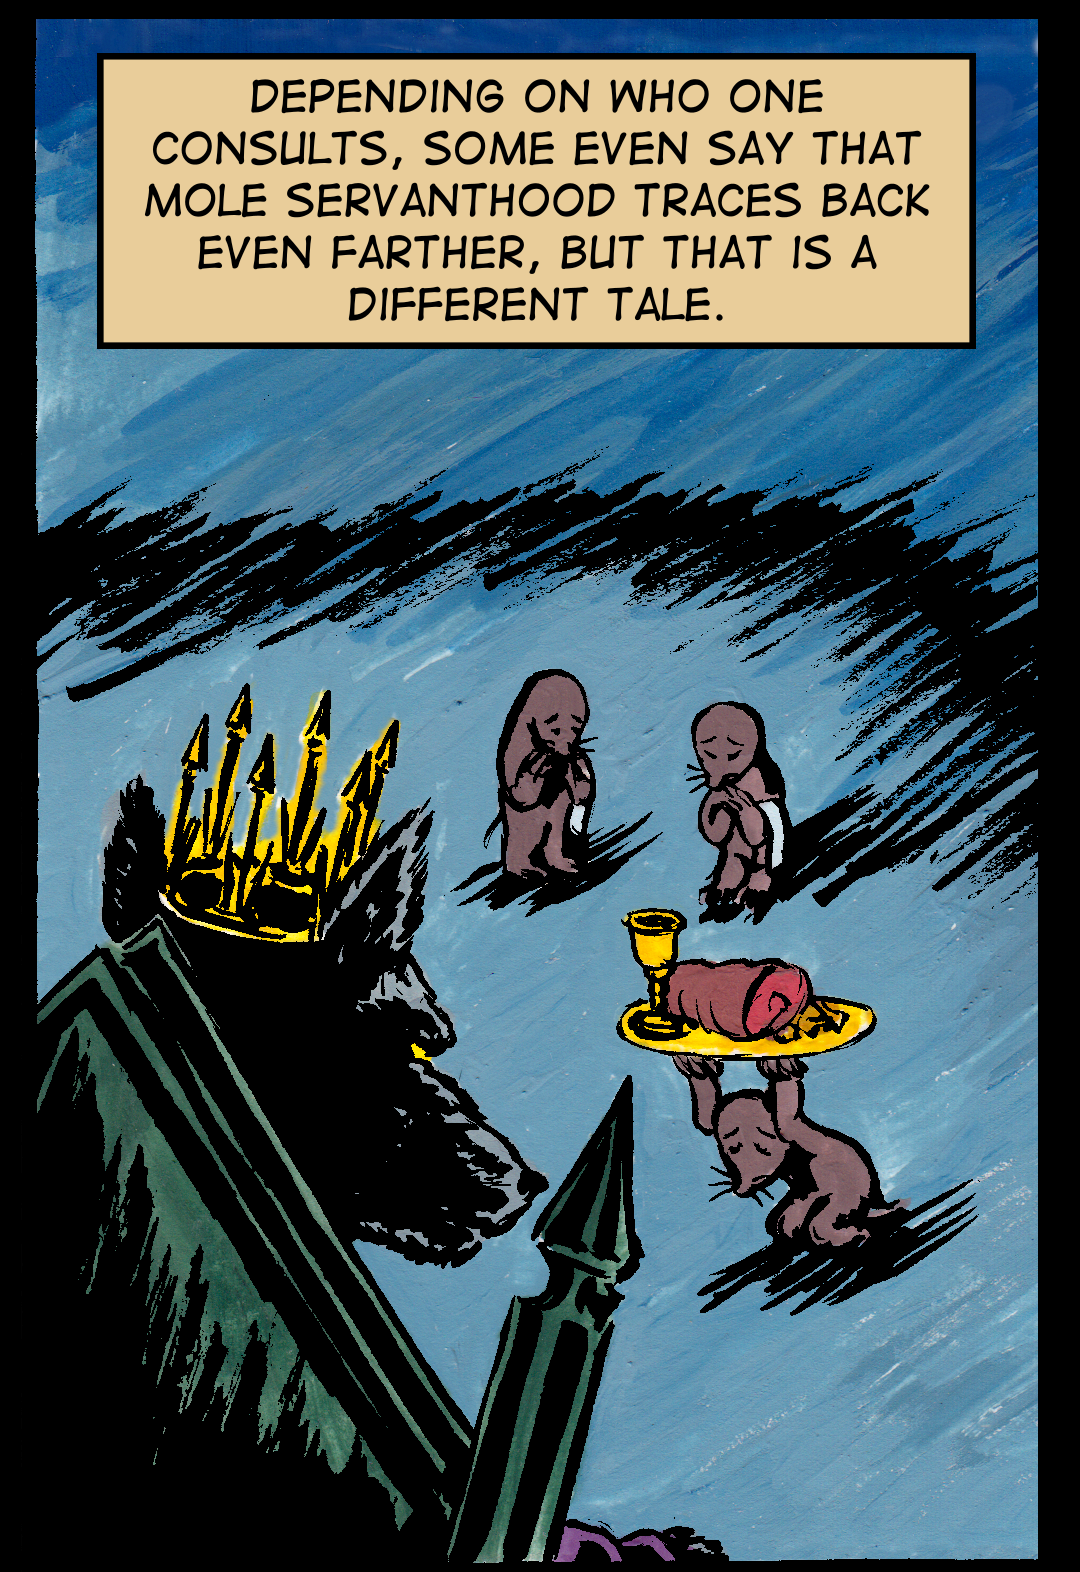
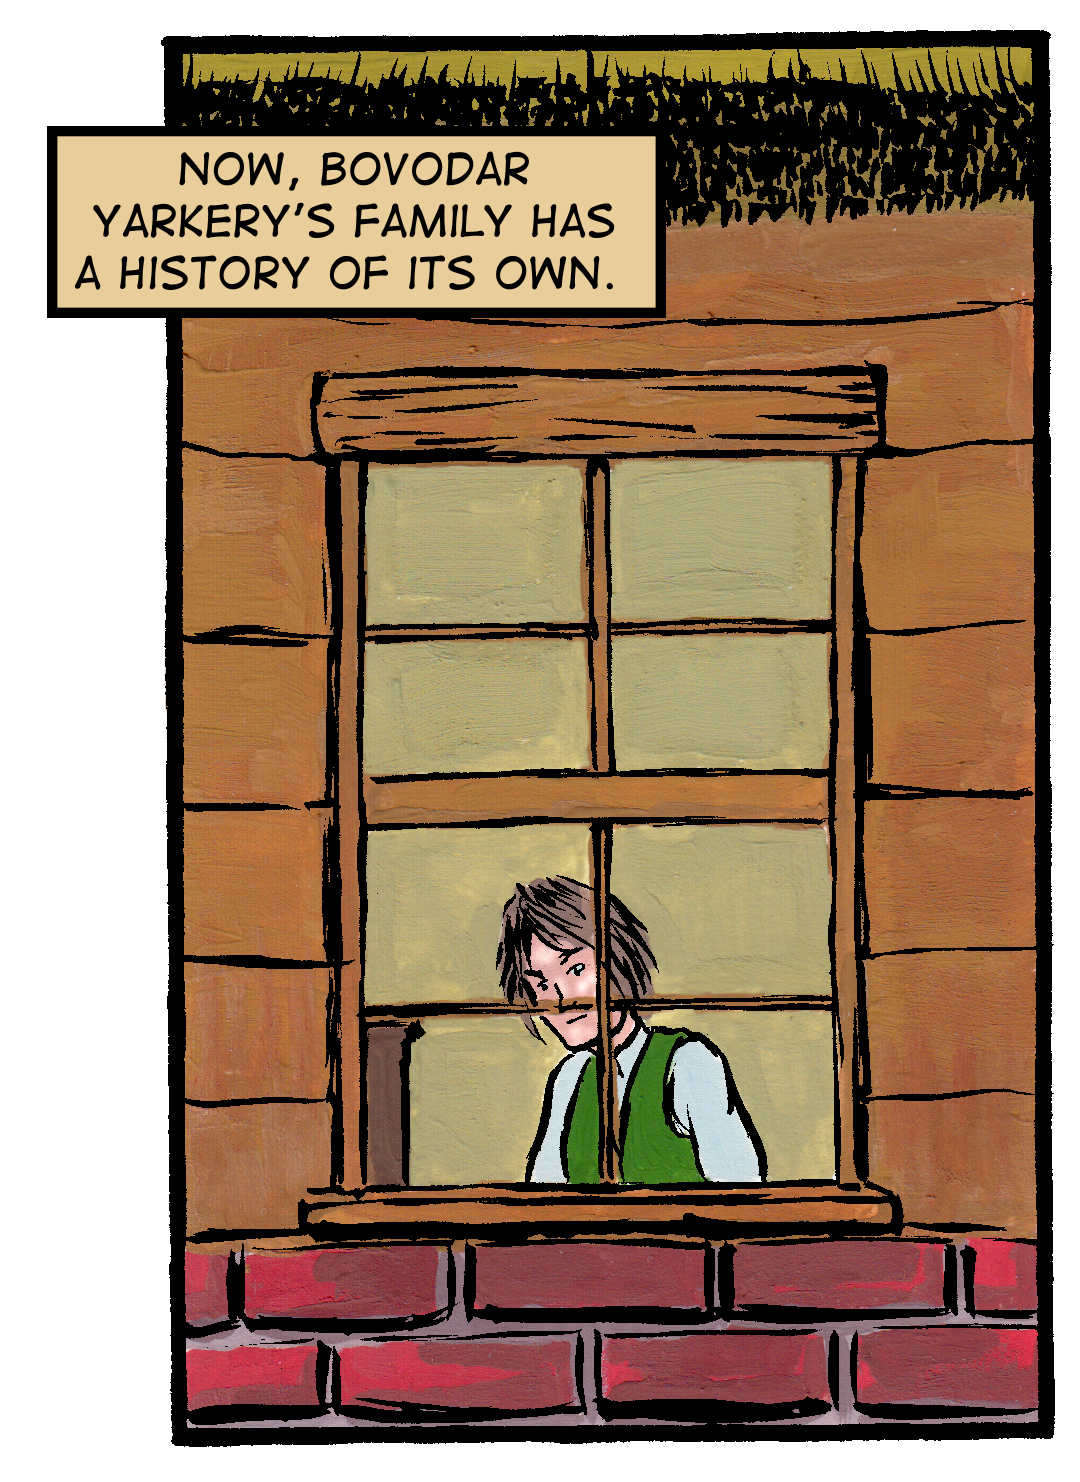
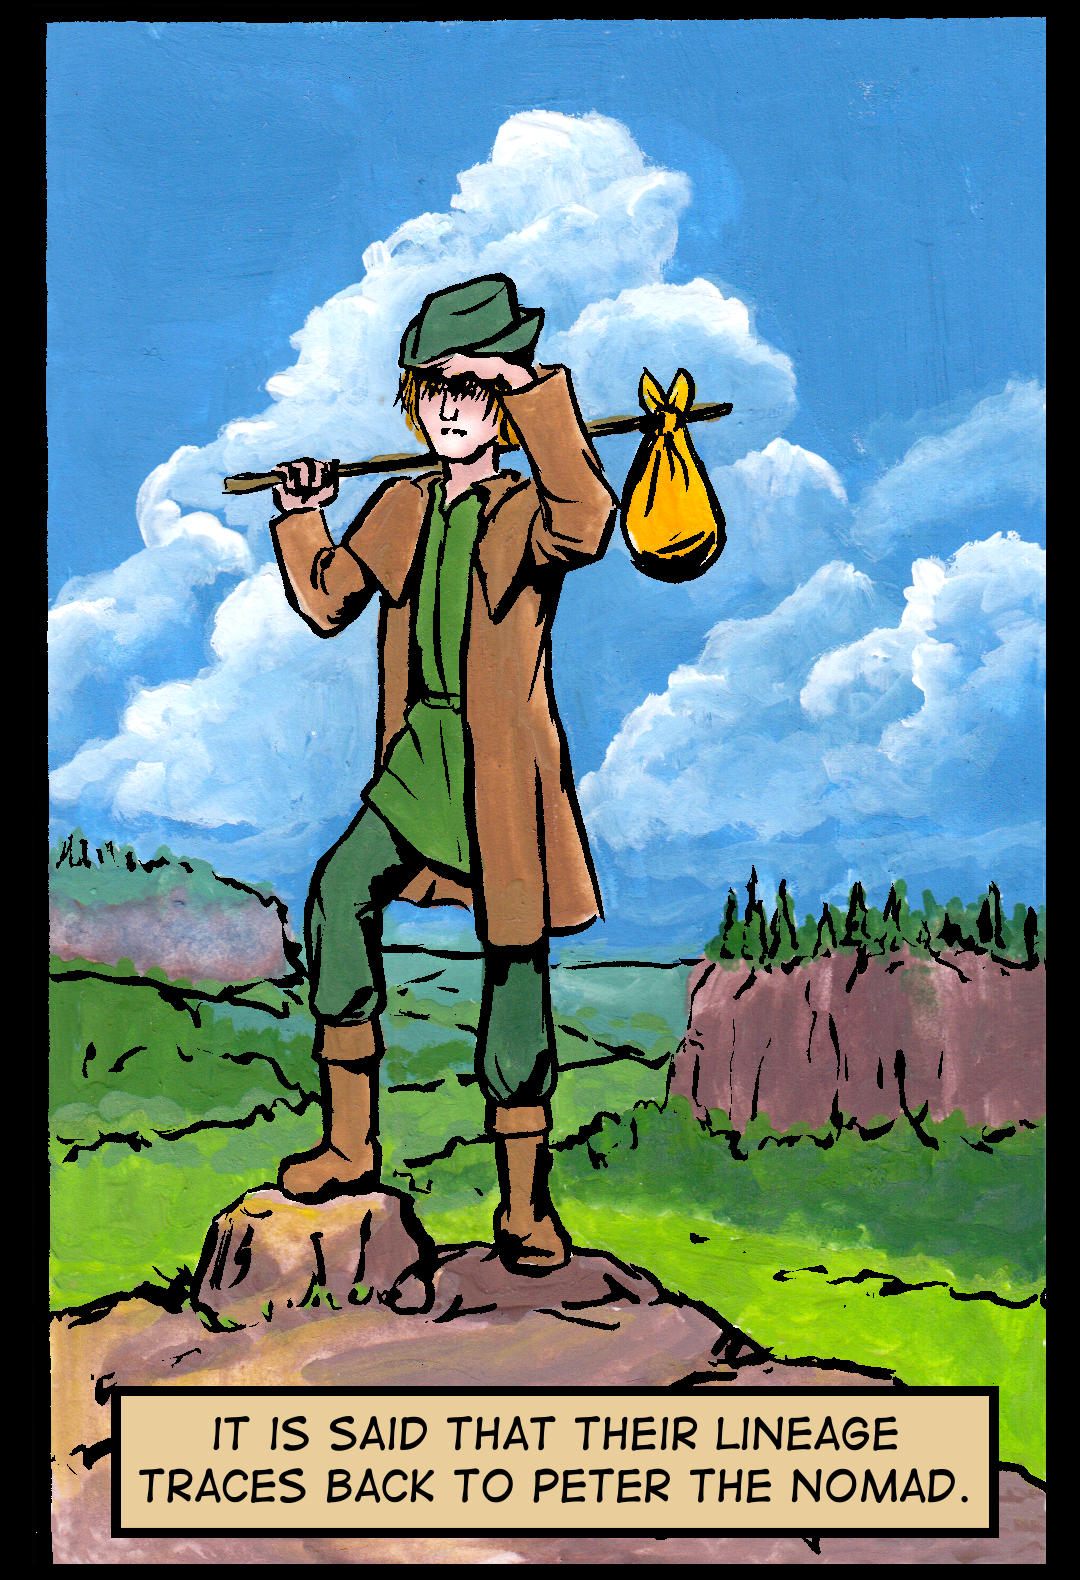
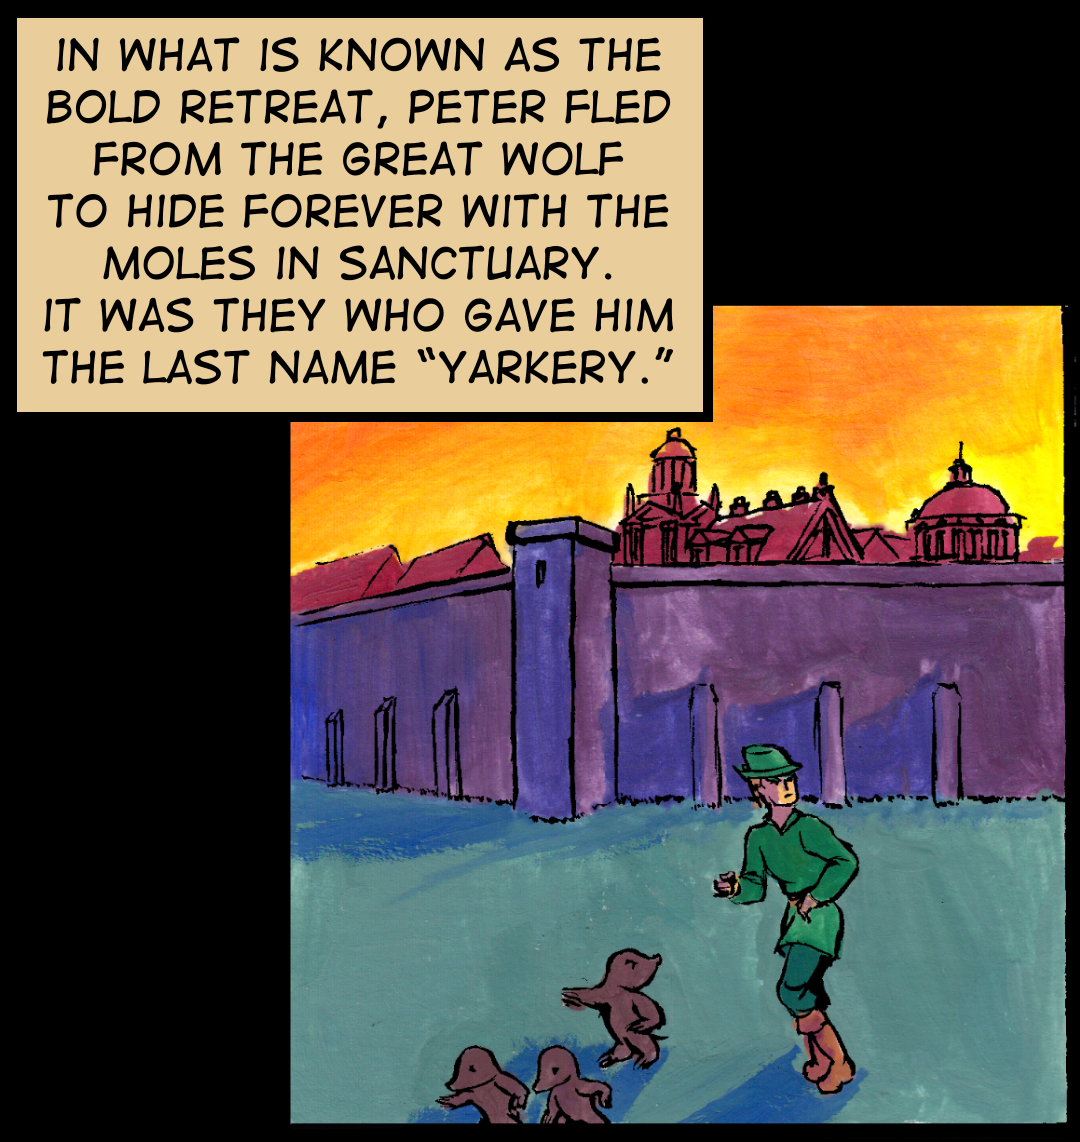
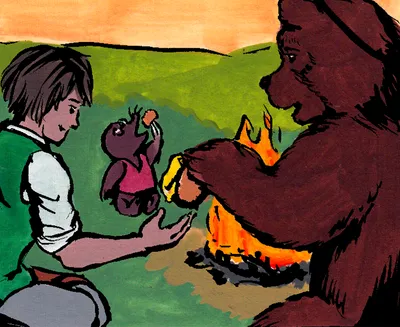
Hearth, Home, & HistoryEpisode #1